How to create a Local account Windows 11 or switch to it?
When you install Windows 11, it is difficult to create a local account, especially if it is Windows 11 Home, but it's possible. Also, if you've already installed your system with a Microsoft account, it's easy to switch to using a local account. This guide details how to create a local account when you install Windows 11 Home or Pro or switch from a Microsoft account to a local account on the installed system.
The system installation process is described step by step on our special page - How to install Windows 11 from a USB flash drive.
How to create a local account during Windows 11 Pro installation
If you are installing Windows 11 Pro, creating a local account is possible in two easy ways:
1) Install Windows without an Internet connection and click "I don't have Internet" at the connection stage - in this case you will immediately proceed to creating a local account.
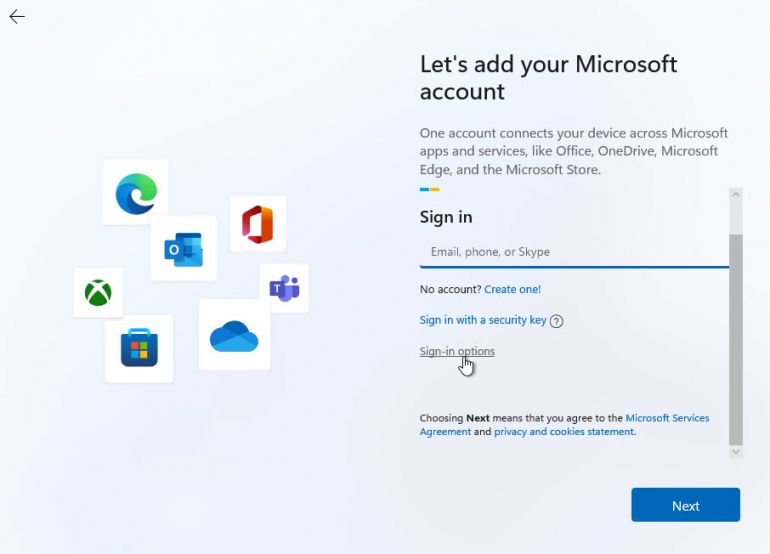
2) On the screen that asks you to enter your Microsoft account email address, tap Sign In Options, and then select Offline Account. On the screen describing the benefits of a Microsoft account, click Skip for now and Create a local user window will open.
How to install Windows 11 Home with a local account?
With Windows 11 Home these methods will not work: an Internet connection is required, and the function "to create an offline account" in Sign-in options is not available. You can use the following method to create a local account during Windows 11 Home installation:
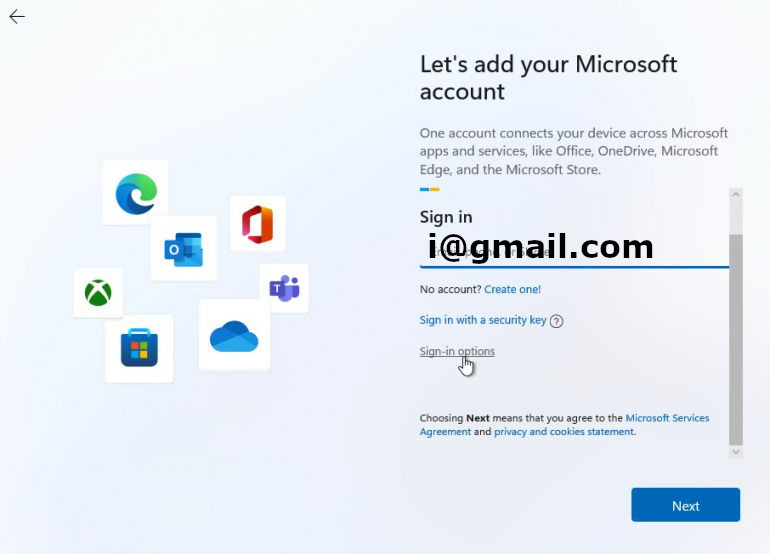
1) On the Microsoft account login screen, enter not your real E-mail, but such an address, that with high probability many have tried to guess the password. You can use the address from the image below, it will work with it. Click Next.
2) Enter any random password. You'll see a message about the suspension of this Microsoft account: "An error occurred. Someone has entered the password incorrectly for this account too many times." Click the "Next" button and, in the next window, you can create a local account.
How to switch to a local account in an installed Windows 11?
If you already installed your system with a Microsoft account, you can switch to a local account. You can do this in Settings, both in Windows 11 Home and Pro versions.
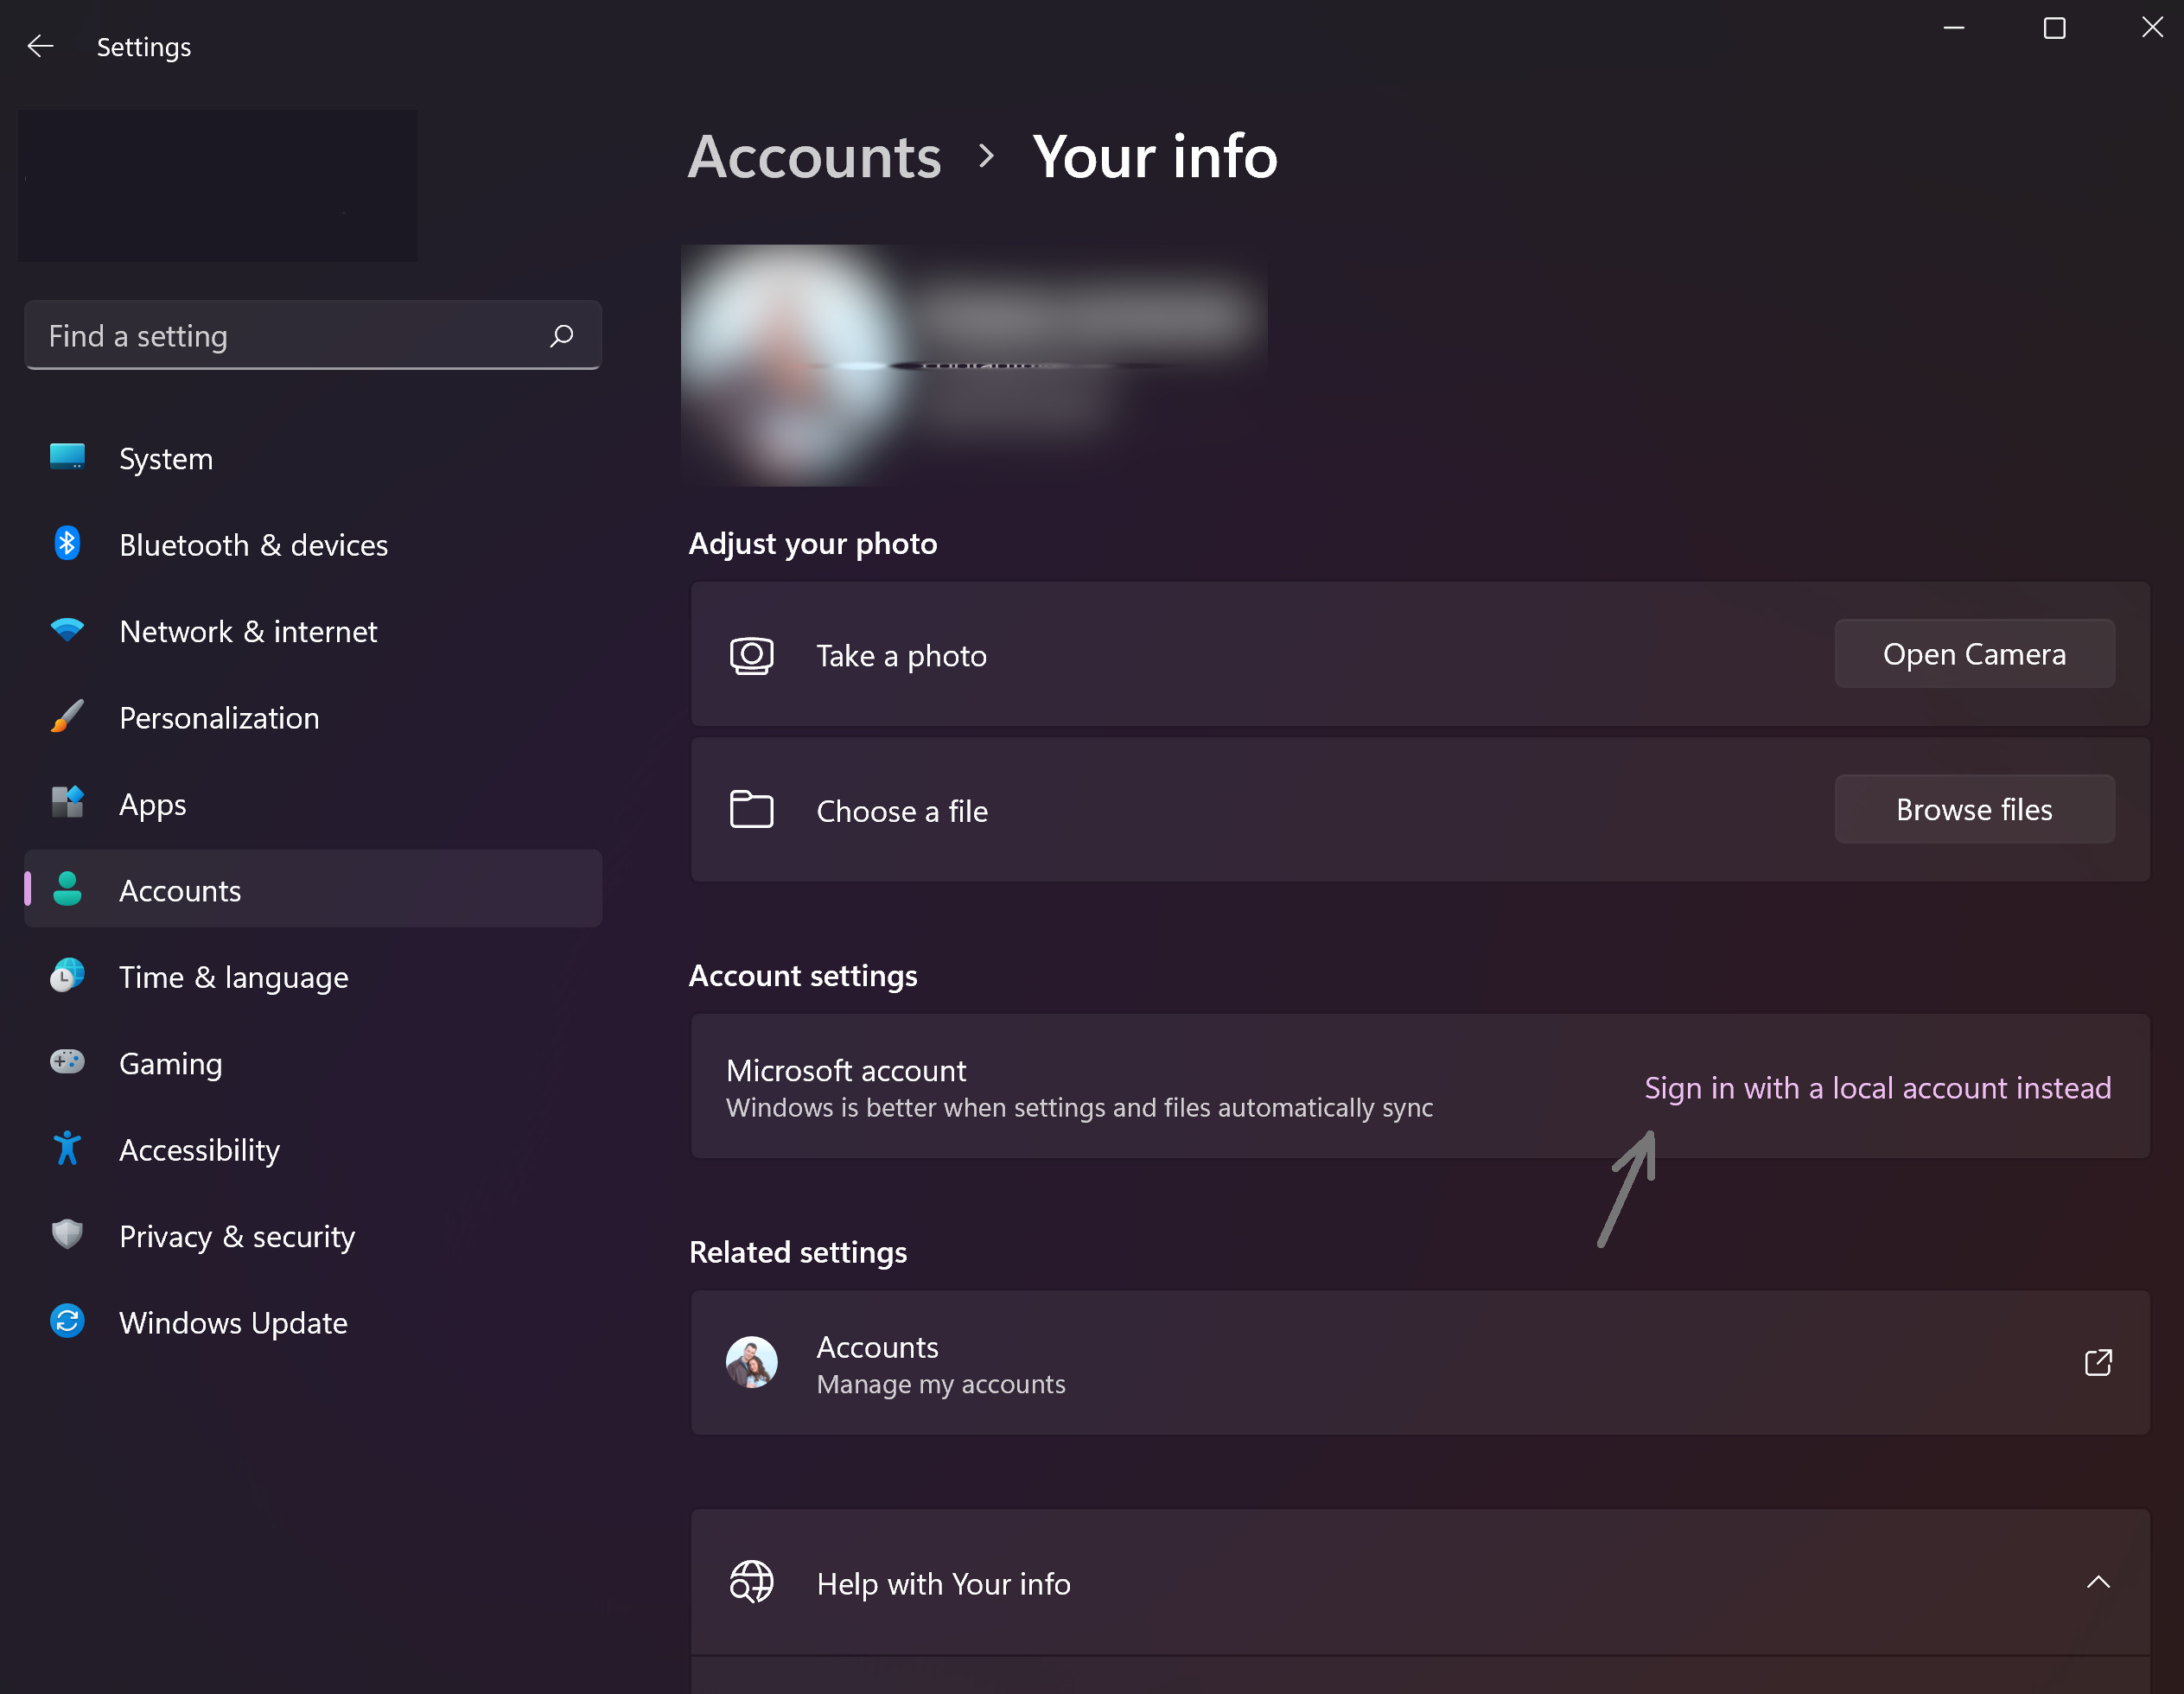
1. Go to Settings - Accounts - Your info.
2. Under Account Settings, click Sign in with a local account instead. Read the warning and click Next.
3. The next window will ask you to enter the desired local account name and password (optional if you want to login without a password). After confirmation, you will be logged out, and the next login will be in a local account. All data from the previous Microsoft account will be retained.
Another option for switching to a local account is to create such an account and “move” into it:
1. Create a local Administrator account. You can do this on the command line, using the following commands in order (replace user_name with the username you need, but do not use the word Administrator; and password with the desired password, if you do not specify it, then the login will be performed without a password):
net user username password /add
net localgroup Administrators username /add
2. Log in with the newly created local account (you can click on the name of the current user in the Start menu, log out, and then log in with a new account). And prepare it for work - make sure the programs work, move the necessary files from your Microsoft account, especially from system folders such as Desktop, Documents, Pictures.
3. If you no longer need a Microsoft account, delete it while in a local account. To do this, go to Settings - Accounts - Family and other users and delete the unnecessary account in the "Other users" section. In both cases, the desired result will be achieved: using an offline account instead of a Microsoft account.
Comments