How to Enable old Context Menu in Windows 11
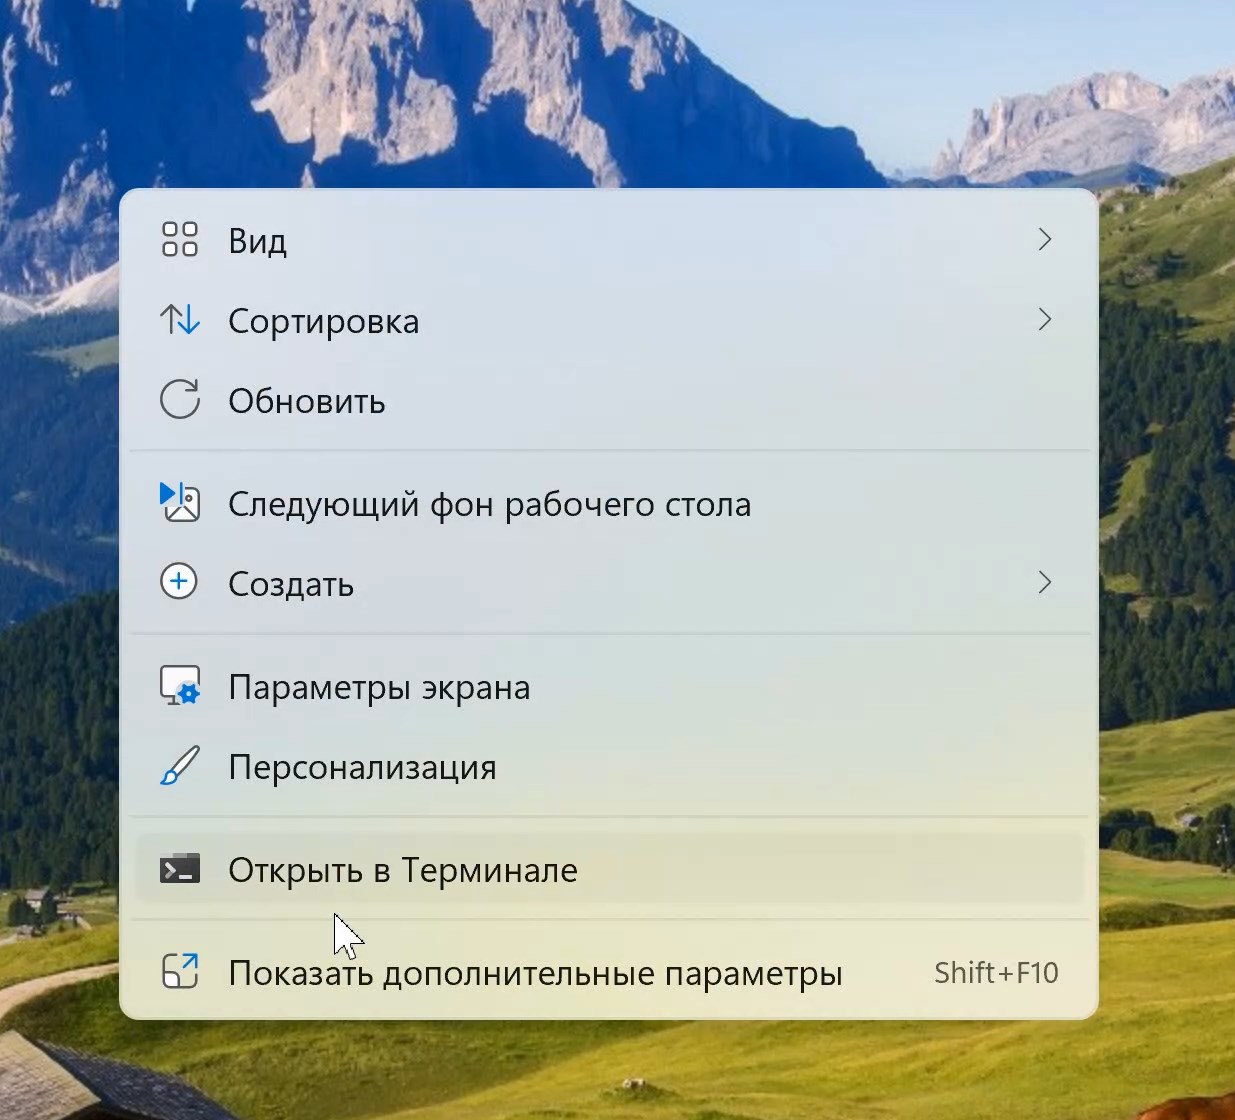
Windows 11 has a new context menu with bigger text and new level design. But something could be unuseful or uncomfortable. There is a button switching to old view but you can save time if you need it often. Do this action and you will enable usual context menu as in Windows 10.
Enable old Context Menu in Windows 11
- Press the Win + R or right-click on the Start button and select Run, type regedit and press Enter. This way you will open Regisrty Editor.
- Go to the section HKEY_CURRENT_USER\Software\Classes\CLSID

Windows 11 context menu changing - Check if this section has a subkey named
{86ca1aa0-34aa-4e8b-a509-50c905bae2a2} - If there is no such section, create it. Press right-click on the CLSID section - Create - Section and paste the specified name.
- Inside the created partition, create another subkey named InprocServer32
- Go to the InprocServer32 key you created (select it in the left pane of the Registry Editor), double-click Default, and then click OK without changing the value.

Enabling old context menu in Windows 11 - That`s all. Now you need to restart the explorer or restart the PC or just relogin to Windows. After that you will see old context menu like in Windows 10.
As you can see this is very easy. It will take just 2 minutes but will save many time during the work.
Comments